


Note: nextjs-docker files if you want to see what the final project structure looks like.
Write sh*t down, so you don't forget it.
Kubernetes is a great tool to deploy your applications quickly and reliably. However, no one seems to mention that it can break your development flow, especially if you use a framework like react or nextjs.
Challenges like runtime environment variables not being properly passed into your containers, covered in this previous article, or the constant need to build, load, and set new pod images with every change to your code, which is what we will be discussing in this article.
For the past two years, we’ve been using k8s (Kubernetes) at Raft for our flagship product Data Fabric. At first, I was elated to be using k8s, something new to add to my knowledge tool belt. That all changed after the first few weeks when I started running into the challenges and complexities introduced by k8s. If you think doing development in Docker was complex, k8s just adds another layer of complexity to the mix, especially if you have no DevOps experience.
k8s what have you done?
If you use React or any modern web development framework, you’ve probably heard of Hot Module Reloading (HMR). It’s a feature that allows you to see changes in your code without having to rebuild and redeploy your application. This is a huge time saver, allowing you to see your code changes reflected in your application in real time. Since day one, k8s neutered my ability to use HMR, and that’s where my pain began as my development workflow went from seeing changes in seconds to minutes.
Searching for a solution
Every month I looked for a solution to this problem. I refused to accept this new “normal” way of development because k8s’ benefits far outweighed the drawbacks. A few months ago, I stumbled upon Skaffold, which looked very promising. It was a tool that would allow me to develop my application locally and then deploy it to k8s.
It was supposed to be minimally invasive to your current code base, something that I was very concerned about as I did not want to introduce too many changes to our existing code. We have 35 helm charts in Data Fabric, and I did not want to have to modify every deployment file to get HMR working.
After trying to get Skaffold working over a weekend of reading, searching Google, stack overflow, and trying things out to see if I could get it working, I gave up on Skaffold. It was a bit more complex than I had anticipated and I was wasting more time than I was comfortable with to get it working.
Hopes and Dreams
At Raft, we try to do a monthly presentation during our lunchtime, we call these Brown Bags. On June 30 th , one of our team members, Michael Linsinbigler, gave a Brown Bag on Skaffold, and to say I was excited would be an understatement. Finally, someone else who understood my pain and knew how Skaffold could reunite me with HMR.
After Mike finished his Brown Bag, I immediately harassed him about helping me get Skaffold into Data Fabric. I showed him a stale branch I had on git when I was trying to get it working with DF. Once he saw how ginormous Data Fabric was and the number of helm charts we had, his response was:
Don’t get me wrong, Mike is an awesome dev, but he works on a different project with other responsibilities to take care of. Trying to get up to speed on Data Fabric’s architecture alone would take time neither of us had available, not to mention how much longer it would take to incorporate Skaffold to our code base
Then, another team member who attended the Brown Bag, Benjamin Bannister, reached out to me offering assistance. I quickly jumped on a team call with him and showed him my Skaffold branch. He made a few changes to show me HMR acually works in k8s with Skaffold but, again, being able to integrate it into Data Fabric would be more difficult and time-consuming.
At this point, I felt defeated and gave up once again on being reunited with my beloved HMR.
A new challenger approaches
I start and end my day by reading a bunch of articles and whatever else Google suggests on my phone. Anyways, I don’t remember what the exact search term I used, but I stumbled upon Tilt.
Like Skaffold before it, it promised HMR very minimal changes to your existing code base and a bunch of other cool features like a nice dashboard, what’s not to like? I was skeptical after being let down by Skaffold, so I didn’t get my hopes up with Tilt.
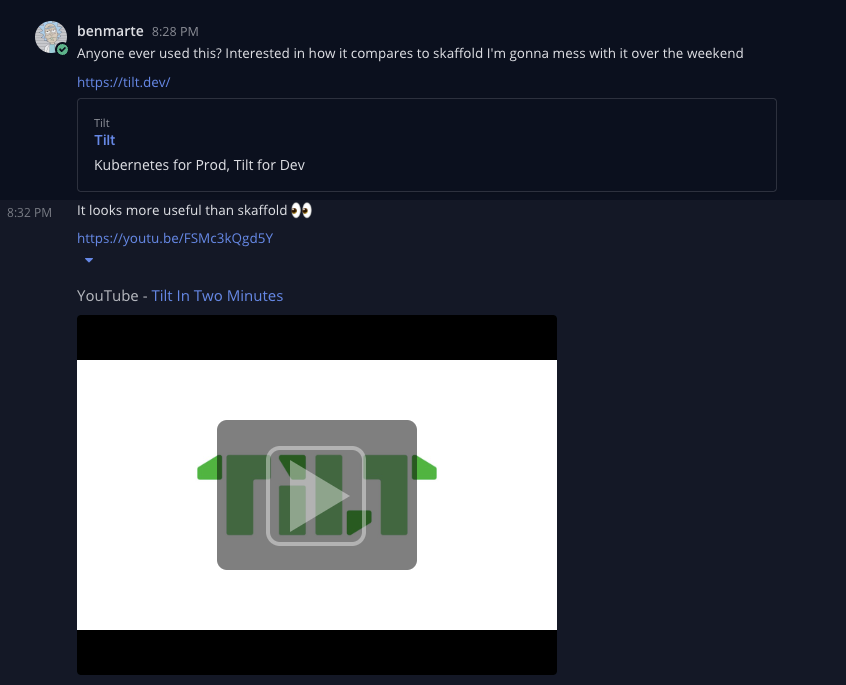
As soon as I read about Tilt, I was very excited. I went to our k8s channel and asked the rest of the team if anyone had ever heard of or used Tilt, I was greeted with silence.
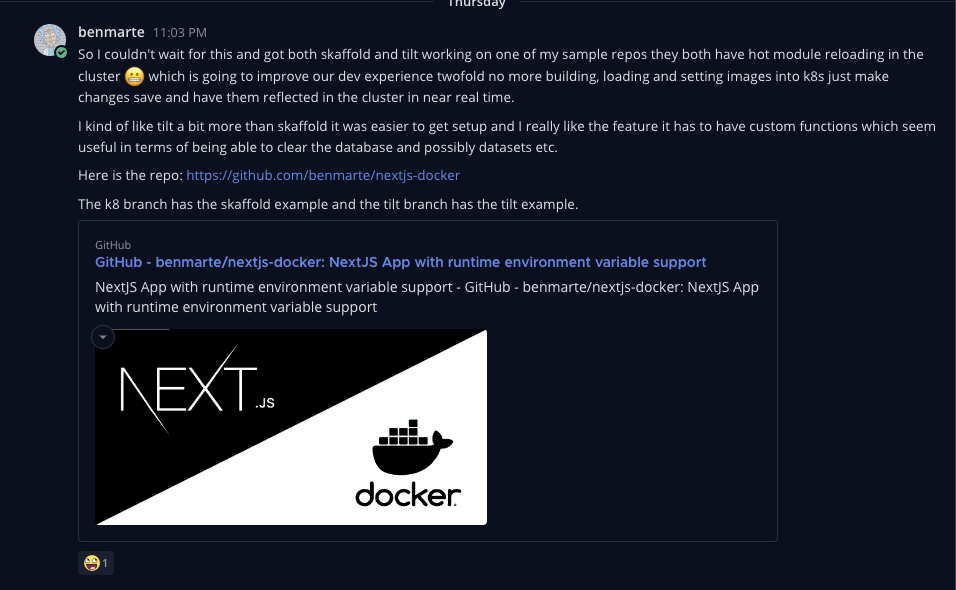
So apparently, the weekend started as soon as I posted that message because I made a branch in my nextjs-docker repo and started playing around with Tilt. Two hours and a half later, I had my first successful experience with Tilt and I couldn’t wait to share it with the team.
I spent the next 2 days integrating Tilt into Data Fabric, and I’m happy to say that I’m finally reunited with my beloved HMR and all is right again in my development universe.
How unproductive was our old workflow? Was it really that bad?
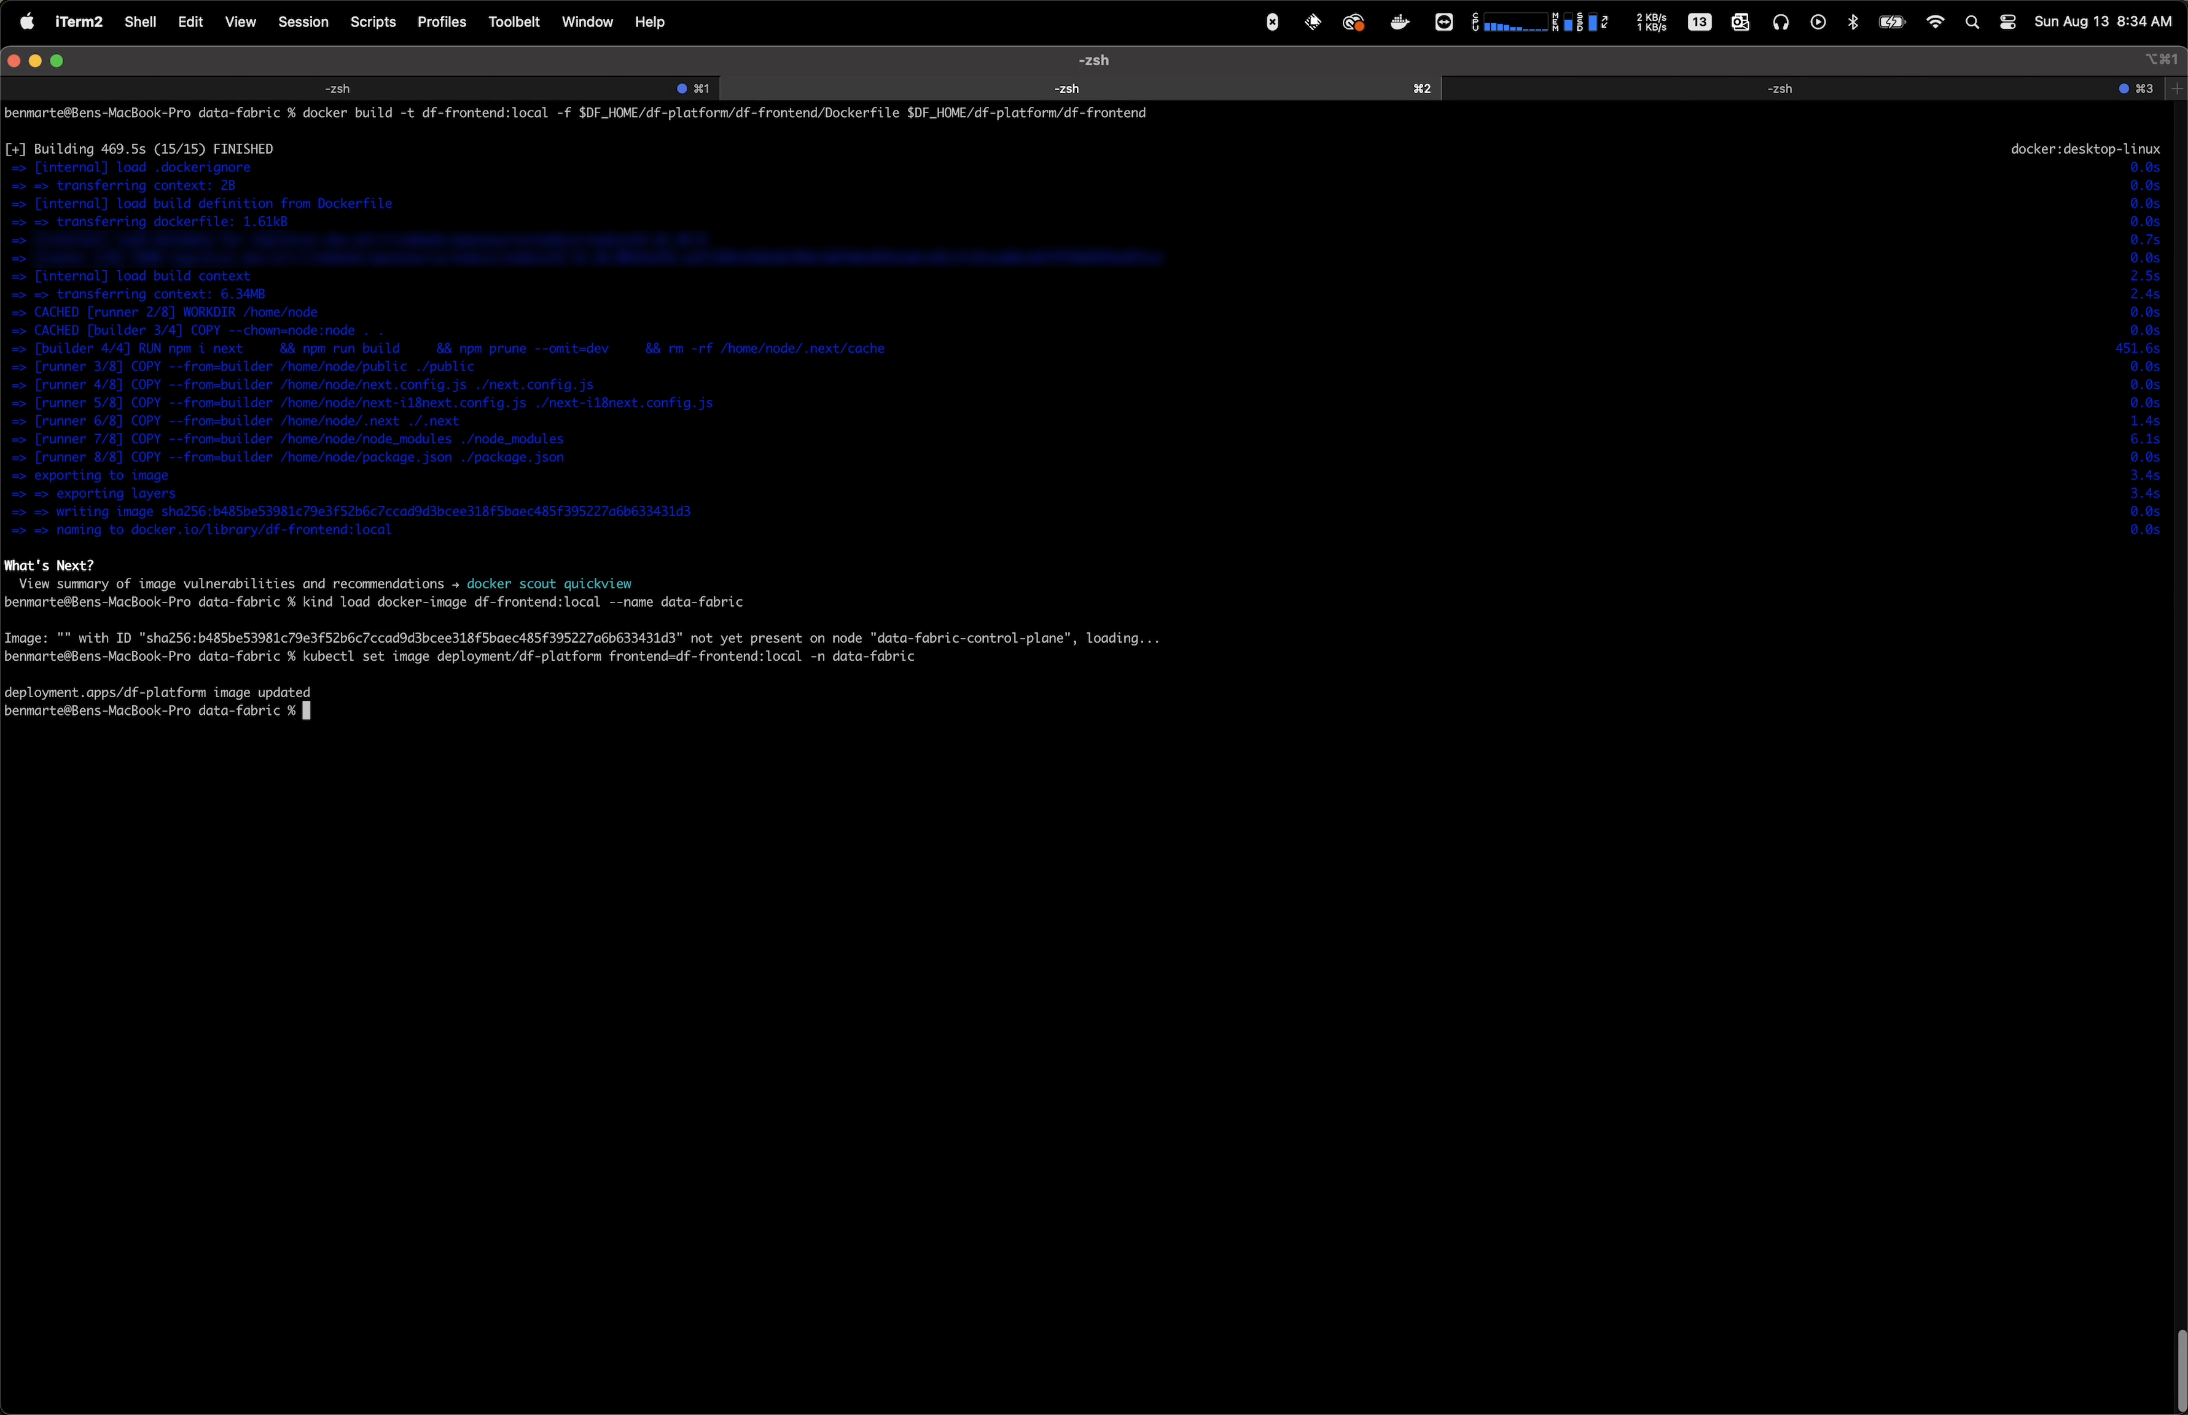
Before using Tilt, my development process involved spinning up a k8s cluster, which takes about 15 minutes due to the complexity of our application. Once the app is running and I made changes to the code base, I would have to build and tag a new Docker image with my changes, load the image into the cluster, set the image, and delete the pod in order to test my changes.
I recorded a video of the whole process so I could time it, but I won’t bore you with a 10-minute video of waiting for a process to complete. The total process to get my changes in the cluster took 00:09:07 minutes. This is just for the front end of our project; we must repeat this process for the backend and any other portion of our app that we make changes to. Each takes a different set amount of time, but the front end was the biggest offender and the one I work with the most.
Now, imagine doing this throughout your day every time you make changes to your code. I’ve been doing this daily for the past 2 years, the amount of productivity and time lost is unfathomable.
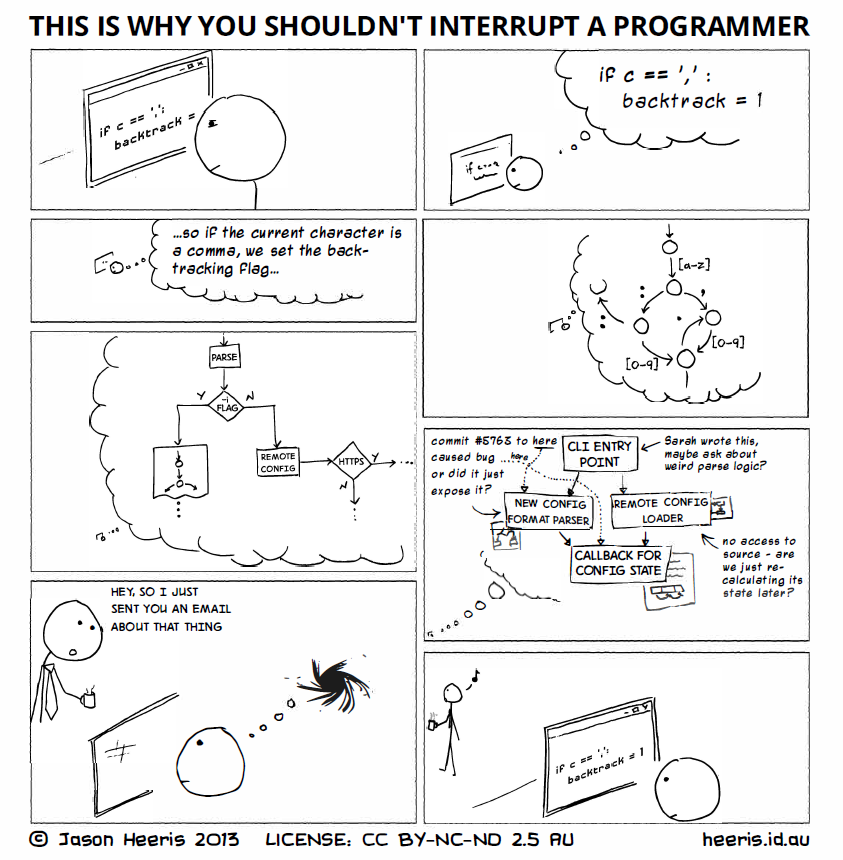
I hate not being efficient and productive with my time. Waiting for this whole process to complete was killing me as it was breaking my ability to focus on the problem I was working on because as funny as this comic may seem, it’s 100% real.
Time saved with Tilt
I can’t answer this question honestly, as I just got Tilt working on our project, I’ll just let you see for yourself with this video if you’re still not convinced how much more productive you’ll be by using Tilt.
I just saved 18 minutes in that 54 second video clip.
Ok, I’m convinced, how do I add Tilt to my existing project?
Like I mentioned before I wanted to adopt something that was not going to introduce a ton of new files into our code base or alter any of our existing helm charts. Adding Tilt to your project will vary based on your projects complexity but in most cases it only consists of adding 3 files, 2 if you are already using Docker and have a Dockerfile for your project.
Step 1: Add Tiltfile
First, you need to install Tilt.
Then, you need to create a Tiltfile file in the root of your project.
Here is an example of the one I made for my nextjs-docker project which is what I used as my POC when testing Tilt.
# This Tiltfile is used to define Tilt configuration for the "nextjs-in-docker" application.

# Load Kubernetes YAML configuration for the application's Deployment.
k8s_yaml('./k8s/deployment.yaml')

# Define a Docker build for the "nextjs-in-docker" image from the Dockerfile in the current directory.
# Additionally, enable live update by syncing local directory with '/app' in the container.
docker_build('nextjs-in-docker', '.', live_update=[sync('.', '/app'),])

# Declare a Kubernetes resource for the "nextjs-in-docker" deployment.
# Set up port forwarding from the container to local port 3000.
k8s_resource('nextjs-in-docker', port_forwards=3000)
Then you need to create a
deployment.yaml file with your projects info:
# This YAML file defines a Kubernetes Deployment for the "nextjs-in-docker" application.

# Defining the Kubernetes API version and kind for the resource.
apiVersion: apps/v1
kind: Deployment

# Metadata section: Specifies the name and labels for the deployment.
metadata:
  name: nextjs-in-docker
  labels:
    app: nextjs-in-docker

# Specifying the deployment's characteristics.
spec:
  # Selector for identifying the pods managed by this deployment.
  selector:
    matchLabels:
      app: nextjs-in-docker

  # Defining the pod template for the deployment.
  template:
    metadata:
      # Labels for the pod template.
      labels:
        app: nextjs-in-docker
    spec:

      # Container specifications.
      containers:
        - name: nextjs-in-docker
          # Container image to use for the application.
          image: nextjs-in-docker

          # Environment variables for the container.
          env:
            - name: NEXT_PUBLIC_MESSAGE
              value: :)

          # Ports that the container will expose.
          ports:
            - containerPort: 3000
Thats it, we are ready to start using Tilt just run tilt up in your projects root directory and start local development with HMR in k8s.
Save a few extra minutes by creating a development Dockerfile
Most times you have a production ready Dockerfile which might have a multi-stage Docker build process this is perfectly fine but we are doing development and we can save a few minutes or two by creating a development Dockerfile because every second counts. 😉
This is what the
nextjs-docker
Dockerfile looks like.
# This Dockerfile defines the steps to build a Docker image for the "nextjs-in-docker" application.

# Set the base image to use, in this case, Node.js 18 with the Alpine Linux distribution.
FROM node:18-alpine

# Set the working directory within the container to /app.
WORKDIR /app

# Copy the package.json file from the host into the container's working directory.
COPY package.json ./

# Run the npm install command within the container to install project dependencies.
RUN npm install

# Copy the entire local directory into the container's working directory.
COPY . .

# Define the command to run when the container starts, in this case, running the "npm run dev" script.
CMD ["npm", "run", "dev"]
As you can see it only consists of 6 lines of actual code, now if we compare this with a production ready Dockerfile which might look something like this:
FROM node:18-alpine AS base

# Install dependencies only when needed
FROM base AS deps
# Check https://github.com/nodejs/docker-node/tree/b4117f9333da4138b03a546ec926ef50a31506c3#nodealpine to understand why libc6-compat might be needed.
RUN apk add --no-cache libc6-compat
WORKDIR /app

# Install dependencies based on the preferred package manager
COPY package.json yarn.lock* package-lock.json* pnpm-lock.yaml* ./
RUN \
  if [ -f yarn.lock ]; then yarn --frozen-lockfile; \
  elif [ -f package-lock.json ]; then npm ci; \
  elif [ -f pnpm-lock.yaml ]; then yarn global add pnpm && pnpm i --frozen-lockfile; \
  else echo "Lockfile not found." && exit 1; \
  fi


# Rebuild the source code only when needed
FROM base AS builder
WORKDIR /app
COPY --from=deps /app/node_modules ./node_modules
COPY . .

# Next.js collects completely anonymous telemetry data about general usage.
# Learn more here: https://nextjs.org/telemetry
# Uncomment the following line in case you want to disable telemetry during the build.
# ENV NEXT_TELEMETRY_DISABLED 1

RUN yarn build

# If using npm comment out above and use below instead
# RUN npm run build

# Production image, copy all the files and run next
FROM base AS runner
WORKDIR /app

ENV NODE_ENV production
# Uncomment the following line in case you want to disable telemetry during runtime.
# ENV NEXT_TELEMETRY_DISABLED 1

RUN addgroup --system --gid 1001 nodejs
RUN adduser --system --uid 1001 nextjs

USER nextjs

COPY --from=builder /app/public ./public

# Automatically leverage output traces to reduce image size
# https://nextjs.org/docs/advanced-features/output-file-tracing
COPY --from=builder /app/.next/standalone ./
COPY --from=builder /app/.next/static ./.next/static

EXPOSE 3000

ENV PORT 3000
ENV HOSTNAME localhost

CMD ["node", "server.js"]
And you can see why using a minimal Dockerfile is better suited for development in order to save an extra few minutes of your time.
I hope this article was useful for you let me know in the comments section if you have any questions, thanks for reading and see you next time.